My python Chatbot.exe
How to create a full portable python terminal app as a standalone exe file. Py-to-EXE-Guide is your way to share you creations with ease.
Two weeks ago we created a terminal Chatbot with Falcon3-1B.
The idea was quite simple, right? We used the llama.cpp binaries to run the llama-server API endpoints for Falcon3-1B-Instruct.Q6_K.gguf
Then we used Python with only the openai library to interact with the llama-server.
But what if I tell you that we can share our app with anyone, even if they do not have Python installed (or they don’t even know what is Python…)?
Py-to-EXE-Guide
This package is the simplification magic tool we needed. With a single click we have a Graphic interface to do all the complex operations required to club python interpreter and libraries in one single executable file.
Py-to-EXE-Guide integrates two famous packages:
PyInstaller bundles a Python application and all its dependencies into a single package. The user can run the packaged app without installing a Python interpreter or any modules.
auto-py-to-exe: that converts .py to .exe using a simple graphical interface
In reality it is a GitHub Repository that Guides you in the process of using the mentioned above packages
Falcon3-1B-instruct chatbot to exe
Here the process to create an executable file. The process is tested on Windows 11, both with python 3.11 and 3.12.
Create a new project directory: mine is called isolate (cool right). Then create a virtual environment, activate it and install the packages required
mkdir isolate
cd isolate
python -m venv venv

venv\Scripts\activate

pip install openai
Since our project required only the openai library, the initial installation process is going to be quite fast.
Now, still with the venv activated install the magic tools:
pip install pyinstaller
pip install auto-py-to-exe
Our python file is called testFalcon3-1B-it.py: you can find it in my GitHub repository from the previous Newsletter
Or you can create it copy/paste from here
# Chat with an intelligent assistant in your terminal
# with Falcon3-1B-Instruct.Q6_K.gguf
from openai import OpenAI
import sys
from time import sleep

STOPS = ['<|endoftext|>']
COUNTERLIMITS = 10  #an even number

# ASCII ART FROM https://asciiart.club/
print("""


    ░░░░░░░░░░░░░░
    ░░░░░░░░░░░░░░
    ░░░░░░░░░░░░░░                                             , ,,
    ░░░░░░░░░░░░░░                                          ╓╣▒▒▒▒╢╫φ
    ░░░░░░░░░░░░░░                                         ]▒▒▒▒▒▒▒╢▓▓
    ░░░░░░░░░░░░░░                                         ▐▄▄▓▓█████▓M
    ░░░░█▀▀▀▀░░░░░   ▐█                        ╗M╜╨╗       ▀▀▒╖,█▌.]▒▓▌
    ░░░░█░░░░░ ▄▄▄▄  ▐█  ,▄▄▄  ,▄▄▄;  ,▄▄▄▄        ║C     , `╜`░░'▒╢▒▒▓▓╗
    ░░░░█▀▀▀⌐░ ,,,▐█ ▐█ ▐█    ]█   ▀▌ ▐▌  ▐█     ╨╝╖      ▌░░ ╓ ╗ Ü▓▒▓▓▓▓▌
    ░░░░█░░░░░█▀-.▐█ ▐█ ▐▌    ▐▌   ▐█ ▐▌   █       ]@     ▒ÆÆj░¥░W╦▐▓▓▓▓█▓▓
    ░░░░█░░░░░▀█▄▄█▀ ▐█  ▀▄▄▄∞ ▀▄▄▄▀¬ ▐▌   █   ╚H╗m╝      ╙╫▒▒▒▒▐░▒░▒████▓╣╗
    ░░░░░░░░░░░░░░                                          ▀▓▓▓▓╬╢▓▓▓█████▓
    ░░░░░░░░░░░░░       ┌─                                    ▀▀▓▓▓▓▓▒▓▀████▓,
    ░░░░░░░░░░░░░░      ]`┌^hh]    ╖                            ▓▌  ▓█    ▀▀▓█▌╕
    ░░░░░░░░░░░░░░                                       ╒▀Ñ▓▓Æ▓▓▓▀ ▓▌▄       '"`
    ░░░░░░░░░░░░░░                                             ╓Nß▀▀ ▄
    ░░░░░░░░░░░░░░                                                   '
    ░░░░░░░░░░░░░░
    ░░░░░░░░░░░░░░░░░░░░░░░░░░

---
""")
# Point to the local server
client = OpenAI(base_url="http://localhost:8001/v1", api_key="not-needed")
print("3. Ready to Chat with Falcon3-1B-instruct  Context length=8192...")
print("\033[0m")  #reset all

history = [
]
print("\033[92;1m")
counter = 1
while True:
    if counter > COUNTERLIMITS:
        history = [
        ]
    userinput = ""
    print("\033[1;30m")  #dark grey
    print("Enter your text (end input with Ctrl+D on Unix or Ctrl+Z on Windows) - type quit! to exit the chatroom:")
    print("\033[91;1m")  #red
    lines = sys.stdin.readlines()
    for line in lines:
        userinput += line + "\n"
    if "quit!" in lines[0].lower():
        print("\033[0mBYE BYE!")
        break
    history.append({"role": "user", "content": userinput})
    print("\033[92;1m")

    completion = client.chat.completions.create(
        model="local-model", # this field is currently unused
        messages=history,
        temperature=0.3,
        frequency_penalty  = 1.6,
        max_tokens = 600,
        stream=True,
        stop=STOPS
    )

    new_message = {"role": "assistant", "content": ""}

    for chunk in completion:
        if chunk.choices[0].delta.content:
            print(chunk.choices[0].delta.content, end="", flush=True)
            new_message["content"] += chunk.choices[0].delta.content
    history.append(new_message)
    counter += 1
You can always refer to the previous newsletter for the explanation of the code.
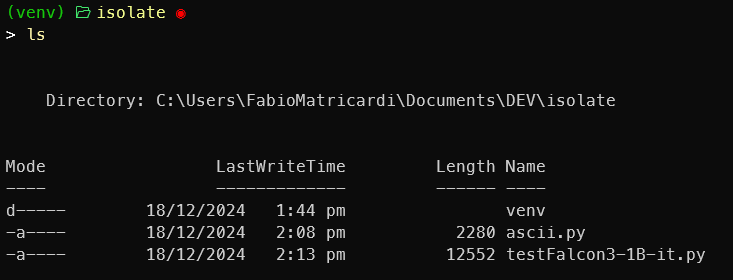
Now our directory should look like this:
From the terminal run the command:
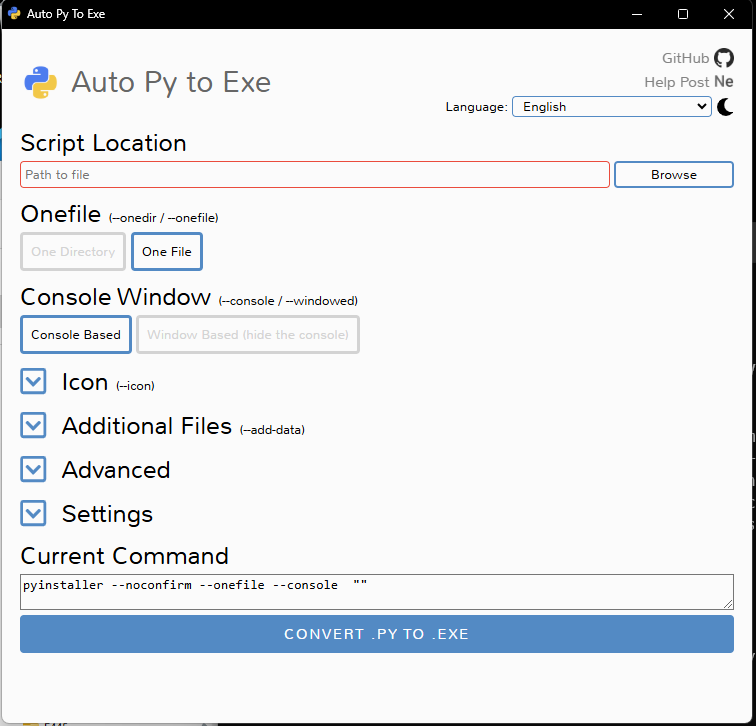
auto-py-to-exeThe GUI interface will pop up. We want a single file Console Based. Click on Browse to pick up our testFalcon3-1B-it.py
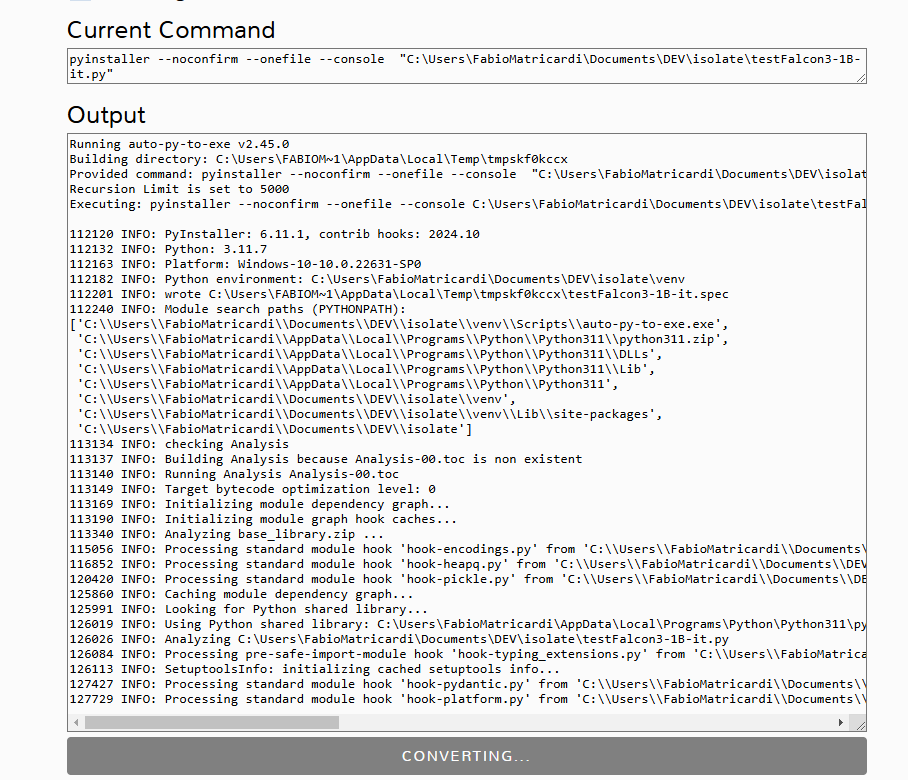
When you click on CONVERT .PY TO .EXE the console starts the conversion
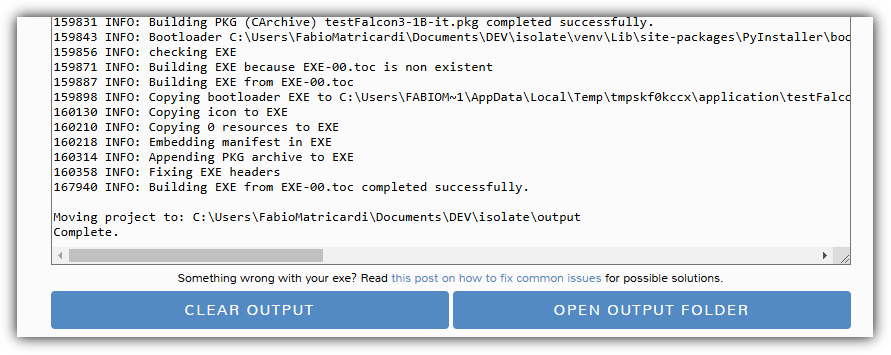
The operation will complete and giving you the option to open the output folder (with our brand new .exe file)
And our testFalcon3-1B-it.exe is ready!
Next steps
I didn’t try to create something similar with a Streamlit interface…. Maybe you can do it and let me know!
This is only the start!
Hope you will find all of this useful. I am using Substack only for the newsletter. Here every week I am giving free links to my paid articles on Medium. Follow me and Read my latest articles https://medium.com/@fabio.matricardi
Check out my Substack page, if you missed some posts. And, since it is free, feel free to share it!


